
Views: 0 Author: Site Editor Publish Time: 2026-07-30 Origin: Site


Moving a high-value ergonomic office chair fully assembled consumes excessive cargo space and increases the risk of structural damage during transit. Improper disassembly frequently results in ruptured pneumatic cylinders, stripped mounting hardware, torn mesh, or voided manufacturer warranties. Users must balance the need for space efficiency with the mechanical risks of dismantling pressure-fitted components. This guide provides a systematic, evidence-based approach to safely dismantling an office chair, detailing the required tools, risk mitigation strategies for seized parts, and hardware management protocols to ensure seamless reassembly.
The goal is to reduce the chair's dimensional volume for transport without compromising its structural integrity, ergonomic calibration, or warranty status. You need to evaluate the depth of disassembly required based on your transport method. Removing armrests and headrests represents a low-risk approach best for local moves. Detaching the backrest and seat pan carries moderate risk and fits standard moving boxes. Separating the gas cylinder from the tilt mechanism and wheelbase is high risk. It is necessary for long-distance freight but carries a high risk of component seizure.
Assessing the structural frame tension of mesh chairs is critical. Mesh frames are highly tensioned. Warping the outer frame during disassembly can permanently ruin the seat or backrest suspension. Reviewing manufacturer guidelines before applying force to pressure-fitted joints is mandatory. Brands like Herman Miller, Steelcase, and Odinlake have specific protocols.
| Disassembly Level | Components Removed | Risk Level | Best Use Case |
|---|---|---|---|
| Level 1 | Armrests, Headrest | Low | Local moves, personal vehicles |
| Level 2 | Backrest, Seat Pan | Moderate | Standard moving boxes |
| Level 3 | Gas Cylinder, Wheelbase | High | Long-distance freight, international shipping |
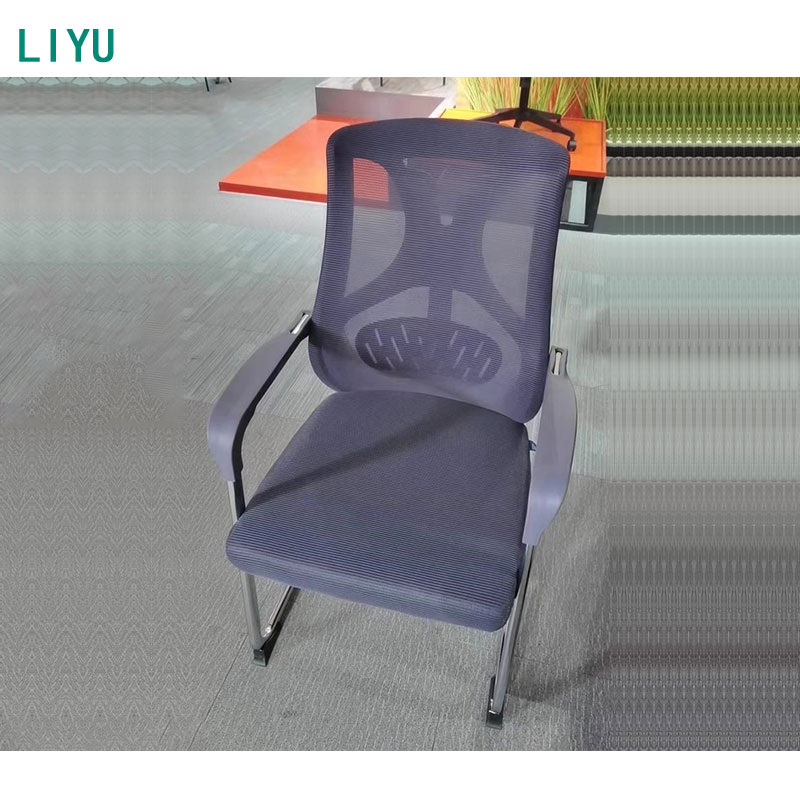
Safe separation of pressure-fitted components requires specific tools. A heavy rubber mallet (16 oz or heavier) breaks friction seals without shattering plastic components. You will need a comprehensive metric and imperial Allen wrench set, a Phillips head screwdriver, and a plastic trim removal tool to pop off plastic cosmetic caps without scratching.
Penetrating oil is necessary for seized cylinders. A pipe wrench provides extreme leverage on the gas lift if needed. Thick moving blankets, durable cardboard, or drop cloths prevent heavy metal mechanisms from scratching hardwood, cracking floor tiles, or gathering carpet fibers. Proper chair hardware care ensures all fasteners remain intact and organized.
Learning how to take apart an office chair requires patience and methodical execution. Follow these steps to dismantle your seating safely.
Invert the chair completely onto a protective blanket. Locate and pop off the plastic decorative collar cap at the junction where the gas cylinder enters the tilt mechanism. Apply penetrating oil directly into the connection joint. Allow 15 to 30 minutes to break down oxidized friction seals. Aim the rubber mallet strikes close to the outer edge of the metal tilt mechanism's housing collar. Avoid striking the delicate inner core. Rotate the base 360 degrees, striking evenly to walk the mechanism off the taper.
Once removed, perform a thorough gas lift inspection. Check the cylinder button, housing, and casing for leaks, structural cracks, or scoring. Keep the 5-star base inverted. Remove the small metal retaining clip and washer from the bottom center hole of the base. Apply penetrating oil to the bottom cylinder joint. Strike the flat bottom rim of the cylinder with the mallet to drive it down and out of the center of the wheelbase. Securely grip the chair leg with one hand and the caster body with the other. Pull the caster straight out of the socket.
If the mallet fails, attach a heavy-duty pipe wrench to the thickest part of the cylinder body. Twist firmly to break the friction seal. This will scratch the cylinder paint, but is highly effective for separation. Use a wide rubber band placed between the hex key and the stripped bolt head to gain traction. Utilize a screw extractor set for heavily oxidized hardware. Avoid using sharp tools or greasy hands near tensioned mesh. Keep penetrating oils away from fabrics and mesh fibers to prevent chemical degradation.
Wrap the gas cylinder in thick bubble wrap to protect the pneumatic button. Box casters separately to prevent them from crushing fragile plastic trim pieces or staining mesh surfaces. Reverse the teardown process on a protected surface. Hand-thread all bolts before applying final torque to prevent cross-threading and structural misalignment. This is standard office chair assembly practice.
Perform a routine post-move check as part of your ergonomic chair maintenance. Test the tilt tension. Verify the gas lift holds height under load without slipping. Ensure casters roll smoothly on the new floor surface.
A: Apply penetrating oil to the joint, wait 15-30 minutes, and use a heavy rubber mallet to strike the base or mechanism housing directly next to the cylinder. For extreme cases, use a pipe wrench to twist the cylinder and break the friction seal.
A: It is highly discouraged. Using a standard steel hammer will likely shatter the plastic wheelbase or deform the metal tilt mechanism. If a mallet is unavailable, use a block of wood as a buffer between a standard hammer and the chair components.
A: It depends on the manufacturer. Routine disassembly for moving generally does not void warranties, but structural damage caused by improper tools will. Always check your specific warranty terms.
A: Inspect the cylinder for deep gouges, leaking hydraulic fluid, or a bent activation pin at the top. If the chair sinks when you sit on it after reassembly, the internal seals were likely compromised during the teardown.
A: The most reliable method is to thread the bolts back into their original holes on the detached components immediately after removal. Alternatively, place them in labeled plastic bags taped directly to the corresponding chair part.
A: Yes, if you have sufficient space in a moving truck. However, you must secure it tightly with ratchet straps to prevent it from rolling or tipping, and wrap the entire chair in moving blankets to protect the mesh and levers.


