
Views: 0 Author: Site Editor Publish Time: 2026-07-25 Origin: Site


You rely on your ergonomic seat daily, but eventually, you will need to take it apart. Whether you are preparing for a cross-country move, packing parts for long-term storage, recycling old metal, or replacing a sinking cylinder, proper dismantling is mandatory. Improper techniques easily destroy costly components. Many users grab a standard metal hammer and start swinging. This brute-force approach permanently damages the gas lift and warps the base. You need a systematic, mechanics-based approach to preserve your hardware.
Understanding the physics of your seat is the first step. Gas cylinders and wheelbases connect using a friction fit known as a Morse taper. Over years of daily use, your body weight compresses and fuses these metal parts together. They are not glued or screwed. Breaking this tight seal requires targeted shock or rotational force. Knowing exactly how to disassemble office chair components ensures you protect your investment, maintain user safety, and apply the right tools for the job.
Modern seating relies on gravity. The industry-standard design of office chair assembly uses a Morse taper to lock the gas cylinder into the seat mechanism and wheelbase. There are no threaded fasteners holding these core structural pieces together. Instead, the tapered end of the cylinder wedges tightly into a matching tapered hole. Every time you sit, your body weight drives the wedge deeper. This creates an incredibly strong, stable connection.
Time and environment turn this tight fit into a fused joint. Humidity introduces moisture into the microscopic gaps between the steel cylinder and the aluminum or nylon base. Dust and debris settle into the joint. Continuous load causes micro-corrosion. Galvanic binding occurs between these dissimilar metals. After a few years, the base and cylinder feel like a single piece of solid metal. You cannot just pull them apart with your bare hands.
A successful teardown preserves every component. You want no cracked plastics and intact retaining clips. The mechanism plates must remain flat and unbent. The gas lift should emerge fully functional, ready for reuse, transport, or safe disposal. Achieving this requires patience and the correct application of force. We see too many ruined frames in the shop because someone lost their temper with a claw hammer.
To understand what you are up against, look at the difference between friction fits and standard fasteners. A bolt threads into a nut and holds tension. A Morse taper relies entirely on surface area contact and wedging action. The tighter it gets pushed in, the harder it grips. You have to break that surface tension simultaneously across the entire joint.
| Connection Type | Holding Mechanism | Disassembly Method | Risk of Damage |
|---|---|---|---|
| Morse Taper (Gas Lift) | Friction and gravity | Shock force or rotational torque | High if struck directly with hard metal |
| Threaded Bolt (Armrests) | Mechanical threads | Hex key or screwdriver | Low, unless heads are stripped |
| Friction Ring (Casters) | Compression ring | Direct pulling leverage | Low, occasional socket cracking |
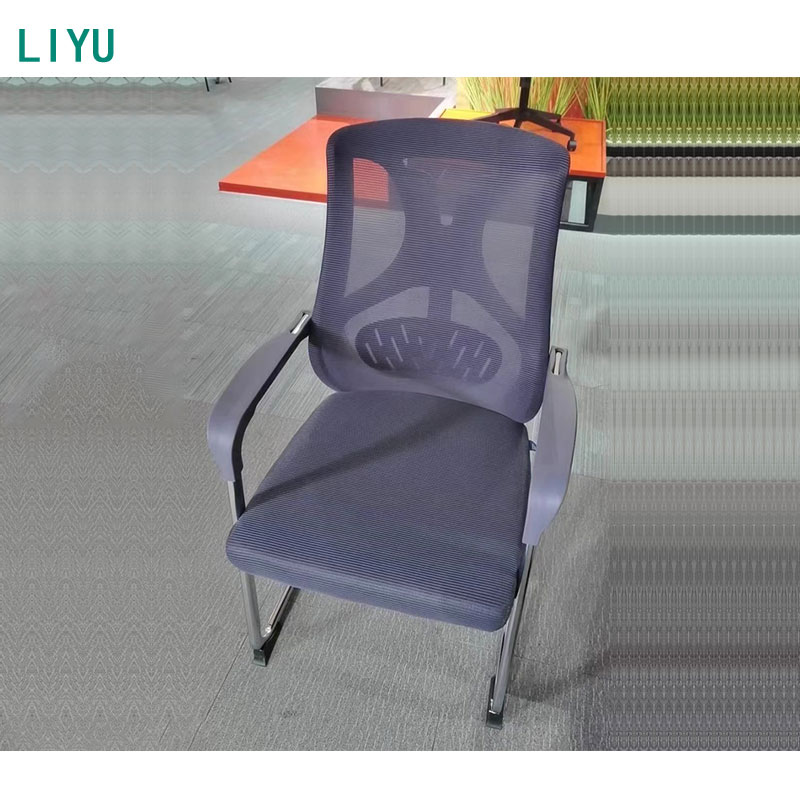
You cannot dismantle a fused chair with bare hands. Gathering the right tools prevents frustration and hardware damage. Standard household lubricants displace water but do not penetrate rust effectively. You need a dedicated penetrating oil like PB Blaster or Liquid Wrench. A heavy rubber mallet or dead-blow hammer provides the necessary shock without denting metal. If you plan to twist the cylinder free, grab a large pipe wrench. For a completely damage-free extraction, use a specialized cylinder removal kit featuring threaded shaft collars. Keep Allen wrenches, hex keys, and screwdrivers nearby for the armrests and backrest. Finally, set up a deep, sturdy trash can or an elevated open-top box to catch the cylinder safely.
Prepare your workspace before applying any oil. Penetrating fluids stain carpets and ruin hardwood finishes. Lay down a heavy drop cloth or thick cardboard. This protects your flooring from grease, oil runoff, and heavy metal impacts. Give yourself plenty of room to maneuver the chair upside down.
Safety is non-negotiable. Gas cylinders contain highly pressurized nitrogen gas. Never point the bottom of the cylinder toward your face. Avoid pressing the release valve button during extraction. Wear safety goggles to protect your eyes from flying metal shards or hardened debris. Wear steel-toed boots or sturdy protective footwear. When the friction seal finally breaks, heavy metal parts drop instantly. Protect your feet.
Start with the casters. Most chairs use friction-ring casters. These push directly into the base sockets. Pull them straight out by hand with a firm tug. If they resist, slide a flathead screwdriver between the caster collar and the base. Twist the screwdriver gently to pry the caster loose. Work your way around the base until all five wheels are off.
Next, set up an elevated drop support. Turn the chair upside down. Position the wheelbase across the top of your open trash can or heavy box. The cylinder should hang suspended inside the container. This setup ensures the heavy mechanism will not crash onto the floor or your feet when the base releases.
Apply penetrating oil to the joint where the cylinder meets the base. Let it sit for 10 to 15 minutes. Take your rubber mallet. Strike the metal base spokes close to the cylinder hub. Never strike the cylinder itself. Hit each spoke in a star pattern. The shock breaks the friction seal, allowing the base to slide off. If it refuses to budge, apply more oil and wait.
Locate the external bolts securing the backrest. Premium models often use heavy-duty bolts or a large adjustment knob at the rear of the spine. Support the backrest with one hand while loosening these fasteners. Slide the backrest up and away from the main mechanism. Set it aside on a clean surface.
Armrests usually bolt directly under the seat pan. Identify the standard bolt locations. Use the exact size hex key or screwdriver. Stripping these bolt heads makes removal nearly impossible. Apply steady pressure to break them loose. If they feel seized, a quick tap on the end of the hex key can break the thread lock.
Organize your hardware immediately. Place bolts, washers, and spacers into small plastic bags. Label each bag clearly. This practice guarantees a seamless re-assembly later. Do not throw everything into a single cup. You will forget which bolt goes where.
The heavy steel tilt mechanism bolts directly to the wooden or plastic seat pan. Turn the seat upside down. Locate the four main bolts securing the mechanism. Remove them carefully. Lift the heavy steel mechanism away from the seat cushion. Keep the mechanism flat to prevent grease from dripping.
Exercise extreme caution with cable-driven levers. Modern ergonomic designs use integrated tension wires to control tilt and height. Do not yank the mechanism. Disconnect the cable housings gently to avoid snapping or bending the delicate tension wires. If you bend a tension wire, the lever will never feel right again.
The shaft collar method is the safest way to remove a cylinder. Install two threaded shaft collars onto the exposed cylinder body. Tighten the top collar securely. Thread bolts through the top collar so they press against the bottom collar. As you tighten these bolts, the mechanical force pushes the cylinder out of the mechanism housing cleanly. This method carries zero risk of scratching the metal housing.
If you lack shaft collars, use a pipe wrench. Wrap the cylinder tightly in a thick rubber strip or heavy cardboard. This protects the metal from the wrench teeth. Clamp a large pipe wrench near the top of the cylinder, staying far away from the inner chrome piston. Apply firm rotational torque. The twisting motion breaks the taper seal. You will hear a loud pop when it lets go.
Alternatively, use the mallet and socket method. Place a deep-well socket over the bottom cylinder pin. Ensure the socket rests on the outer housing, not the delicate pin. Tap the socket firmly with a rubber mallet to pop the mechanism free. Keep your hand on the mechanism so it does not fly off and hit the floor.
Sometimes penetrating oil needs more time. If the joint remains stuck after 15 minutes, apply more oil and let it sit for a full 24 hours. Heavily oxidized joints require patience. The fluid needs time to creep into the microscopic crevices. Do not rush this process. Hitting it harder will only bend the base.
Thermal expansion helps break severe bonds. Use a hairdryer or heat gun on the outer steel mechanism housing. Keep the heat moving. Never point a heat gun directly at the pressurized gas cylinder. Heating the outer metal causes it to expand slightly, breaking the rust bond. Once warm, hit the base again with your rubber mallet.
Cracked plastic sleeves complicate removal. If the decorative plastic cover wedges into the metal joint, use needle-nose pliers to pull the plastic fragments out. Clear the joint entirely before applying more penetrating oil or heat. Plastic melts and creates a worse mess if you hit it with a heat gun.
Once extracted, evaluate the cylinder's health. A thorough gas lift inspection dictates your next steps. Look for oil leakage around the top seals. Check the chrome piston for deep scoring or scratches. Test the rebound pressure. If the cylinder lacks resistance or leaks fluid, it requires immediate replacement. Do not try to refill or rebuild a sealed gas cylinder.
Clean all components thoroughly. Proper chair hardware care extends the life of your furniture. Wipe away old grease, dirt, and metal shavings from the Morse taper sockets. Use a heavy-duty degreaser to clean the inner rings. Dry the metal completely before reassembling. Leaving grit in the socket guarantees it will fuse worse next time.
Implement routine ergonomic chair maintenance. Apply a micro-thin layer of white lithium grease to the taper joints before putting the chair back together. This prevents future fusing. Periodically check and tighten all structural bolts under the seat pan. A loose bolt puts uneven stress on the mechanism plates.
Deciding between repair and replacement requires a feature-to-outcome analysis. Replacing a standard cylinder costs very little. If the rest of the chair remains in excellent condition, this small repair restores full functionality. However, if the seat foam is flattened, the armpads are torn, and the tilt mechanism grinds, a new cylinder will not fix the underlying degradation. You have to look at the whole frame.
| Scenario | Recommendation | Rationale |
|---|---|---|
| Premium chair, sinking cylinder only | Repair | High-end frames retain value. A simple cylinder swap restores factory performance. |
| Generic chair, multiple failing parts | Replace | The combined cost of parts and labor exceeds the value of the chair. |
| Fleet of 50+ aging office chairs | Hire Refurbisher | In-house teardown drains maintenance hours. Professionals handle bulk extraction efficiently. |
Office managers face scalability issues. Refurbishing a large fleet of chairs in-house consumes massive amounts of time. Hiring a commercial furniture liquidator or professional refurbisher often proves more efficient. They possess the specialized tools to extract hundreds of cylinders safely. They also handle the recycling of old metal parts.
Ordering the wrong parts ruins a repair project. Cylinders come in different classes and travel lengths. A Class 4 cylinder handles more weight than a Class 3. Measure your old cylinder accurately. Note the diameter of the outer housing and the length of the chrome piston before ordering a replacement. Getting this wrong means the chair sits too high or bottoms out on the floor.
A: Yes. You can use a specialized cylinder removal tool featuring threaded shaft collars. This pushes the cylinder out mechanically. Alternatively, use a deep-well socket over the bottom pin and tap it with a heavy rubber mallet to separate the parts.
A: Apply a high-quality penetrating oil and let it sit for 24 hours. If it remains stuck, use a heat gun on the outer metal mechanism housing to expand the metal slightly. Never apply heat directly to the pressurized cylinder.
A: No. Striking the cylinder directly with a metal hammer will deform the retaining clip, warp the housing, and permanently destroy the gas lift. Always use a rubber mallet or dead-blow hammer on the surrounding base spokes.
A: The most obvious sign is a sinking seat that loses height under your body weight. Other indicators include oil leaking from the top seals, deep scratches on the chrome piston, or a complete lack of rebound pressure.
A: No. While most use a standard 2-inch outer diameter (Morse taper), they vary in travel length and weight capacity (Class 3 vs. Class 4). Always measure your existing cylinder before ordering a replacement.
A: For minor oxidation, penetrating oil works in 10 to 15 minutes. For heavily fused or rusted joints that have been locked together for years, allow the oil to sit for 12 to 24 hours to fully penetrate the micro-crevices.
A: While rare, gas lifts contain highly pressurized nitrogen. Puncturing the casing, heating it with an open flame, or crushing it aggressively can cause a violent release of pressure. Always handle them with care and wear eye protection.


